Call Anytime 24/7
tankless water heaters, Utah

S & B Plumbing

801-528-4999 Book Now Customer Loyalty Program
  • Plumbing
        • Bathroom Remodeling
        • Emergency Plumber
        • Faucet Repair
        • Frozen Water Line
        • Gas Line Install & Repair
        • Hose Bibbs
        • Garbage Disposal
        • Kitchen Remodeling
        • Main Water Line
        • New Construction
        • Repiping
        • Sink Repair
        • Stop and Waste Valve
        • Sump Pumps
        • Toilet Repair
        • Water Filtration System
        • Water Leak Detection & Repair
        • Commercial Plumbing
        • Commercial Drain Cleaning
        • Backflow Testing
  • Water Heaters
    • Tankless Water Heater
  • Water Softener
  • Drain & Sewer
  • Industries We Serve
    • Residential 
      • Single-Family Homes
      • Apartment Complex Plumbing
      • Condominiums And Townhouses
    • Industrial
      • Manufacturing Plants
      • Warehouses and distribution centers
      • Automotive Facilities
    • Healthcare
      • Hospitals
      • Nursing Homes And Assisted Living Facilities
      • Clinics And Outpatient Centers
      • Dental Offices
      • Medical Offices
    • Municipal and Government
      • Public Buildings
      • Libraries
      • Parks and Recreational Facilities
    • Hospitality and Entertainment
      • Hotels and Resorts
      • Theaters and Performance Venues
      • Stadiums and Arenas
      • Event Venues and Convention Centers
    • Real Estate and Property Management
      • Property Management Companies
      • Real Estate Developers
      • Rental Property Services
    • Utilities & Infrastructure
      • Water Treatment Facilities
  • About Us
    • Service Area
    • Blog
    • Reviews
    • Contact Us
    • Schedule a Plumbing Service
    • Careers
    • Customer Loyalty Program
    • Coupons
  • Recent Projects

6 Common Signs You Might Have Freezing Pipes

Home | Plumber | Page 18

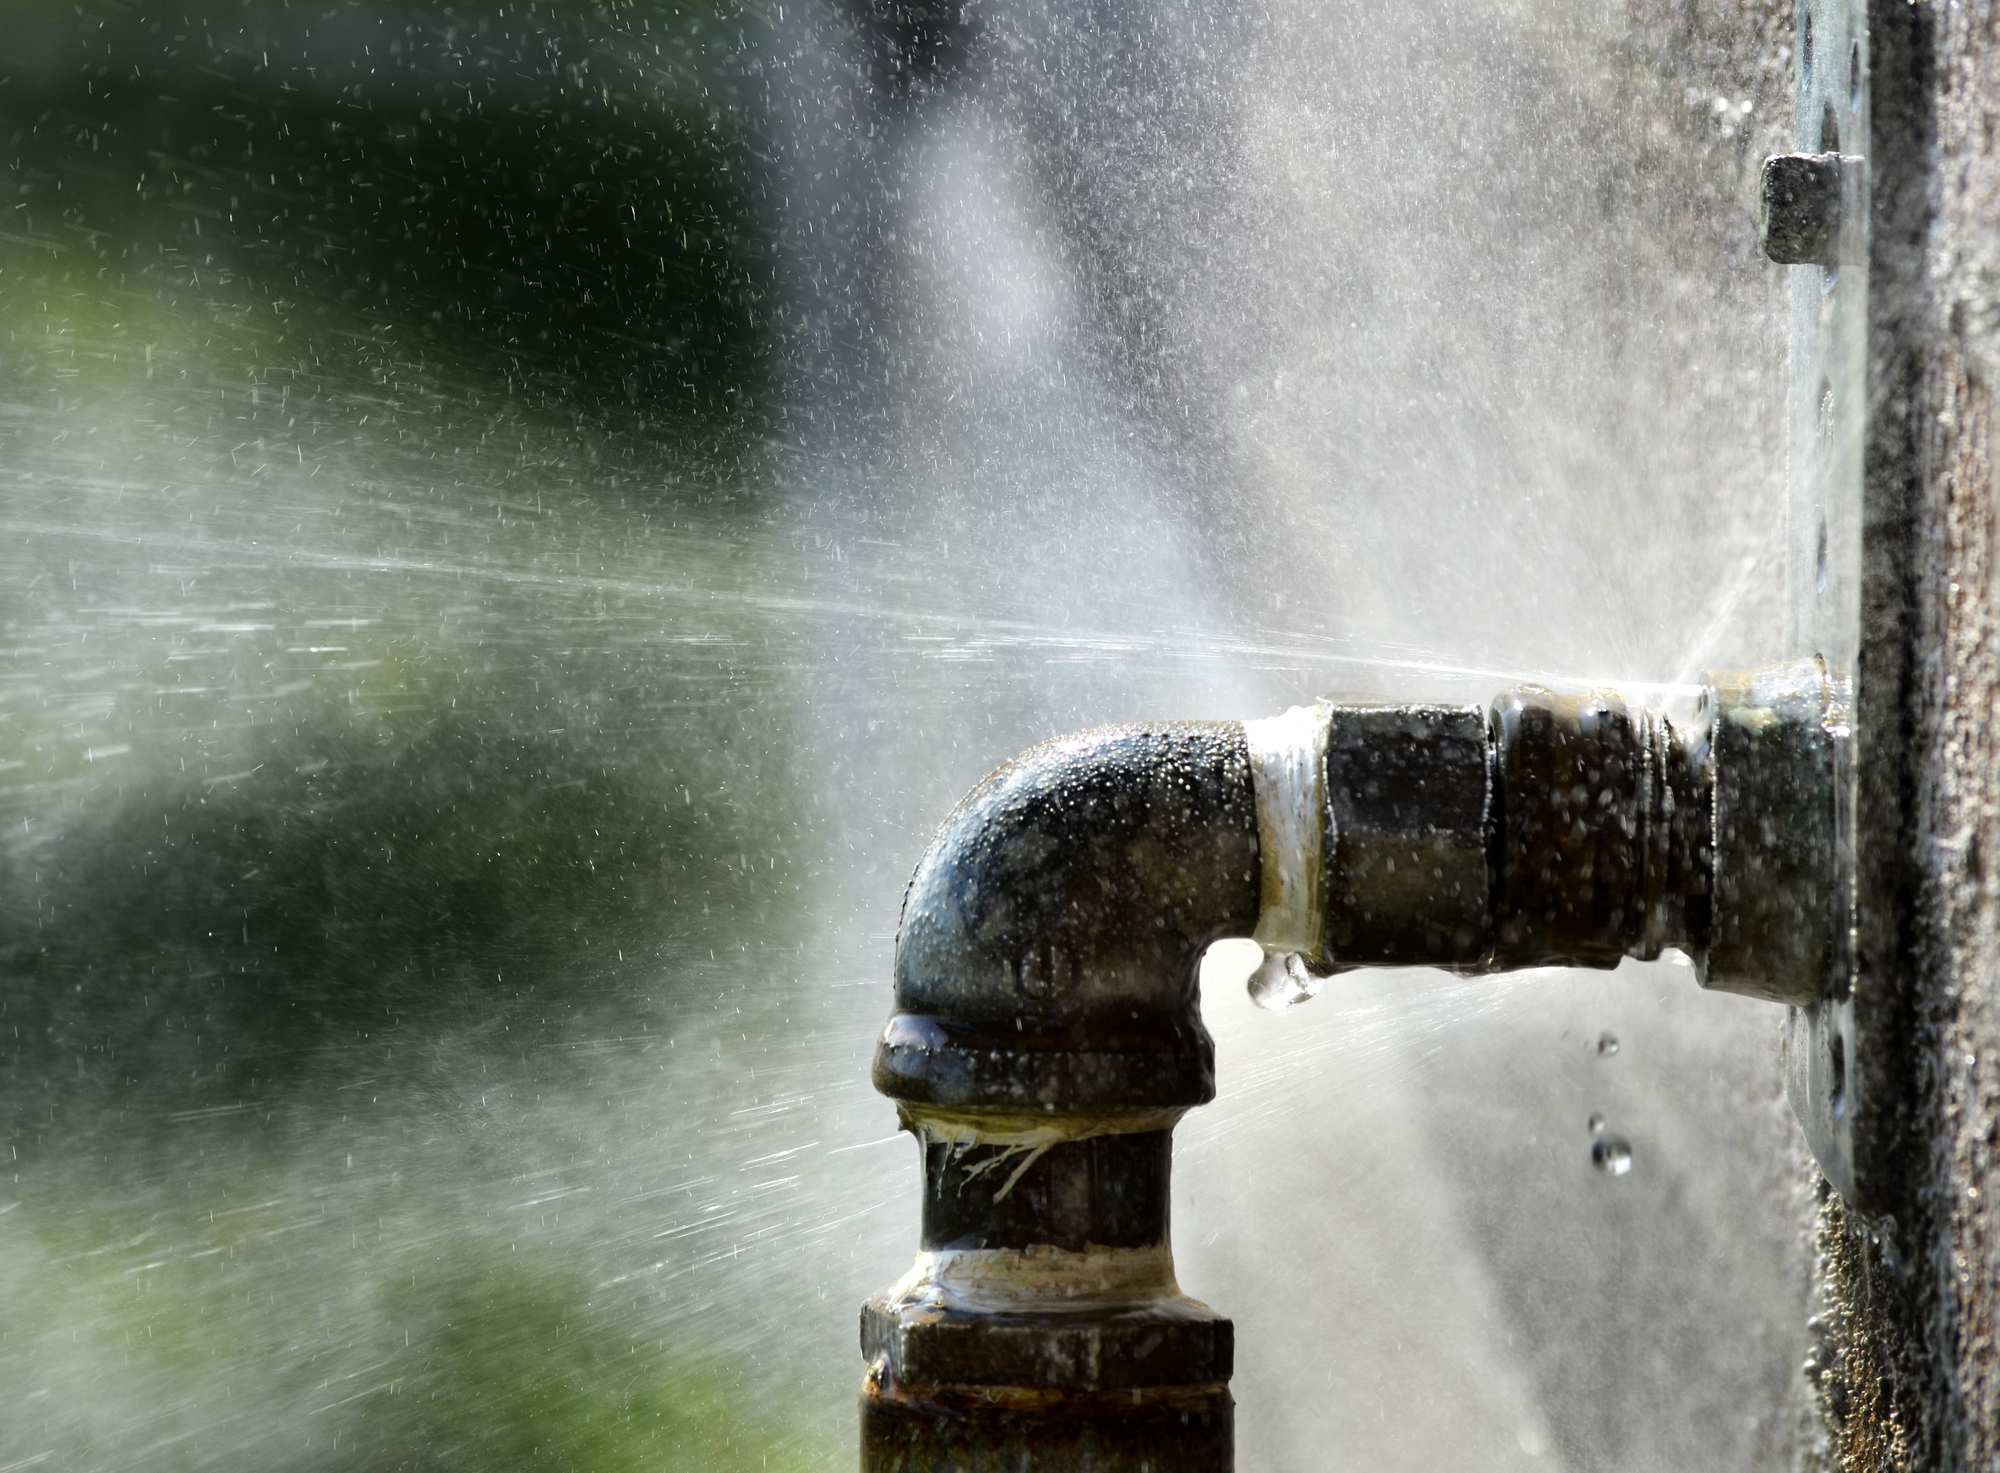
Winter’s chill can bring more than just frosty mornings—it can freeze your water pipes too! If your plumbing isn’t properly winterized, you might face unexpected issues. Identifying the early signs of freezing pipes can save you from major headaches and costly repairs later on. In this blog, we’ll explore common indicators that your water lines might be freezing and offer tips to address them before they cause serious damage. Stay ahead of the cold and keep your home running smoothly!

Signs of Freezing Pipes

Sign 1: Reduced or No Water Flow
6 Common Signs You Might Have Freezing Pipes

One of the earliest signs of freezing pipes is reduced or no water flow. As temperatures drop, ice can form inside your pipes, causing them to narrow and restrict water movement. Initially, you might notice a slow trickle or reduced pressure from faucets. If the ice buildup becomes severe, water flow can stop entirely. This is a crucial early warning because it indicates that ice is obstructing the pipes, potentially leading to a burst if not addressed promptly. Monitoring your water flow during cold weather can help you catch and resolve the issue before it escalates.

Sign 2: Frost on Pipes

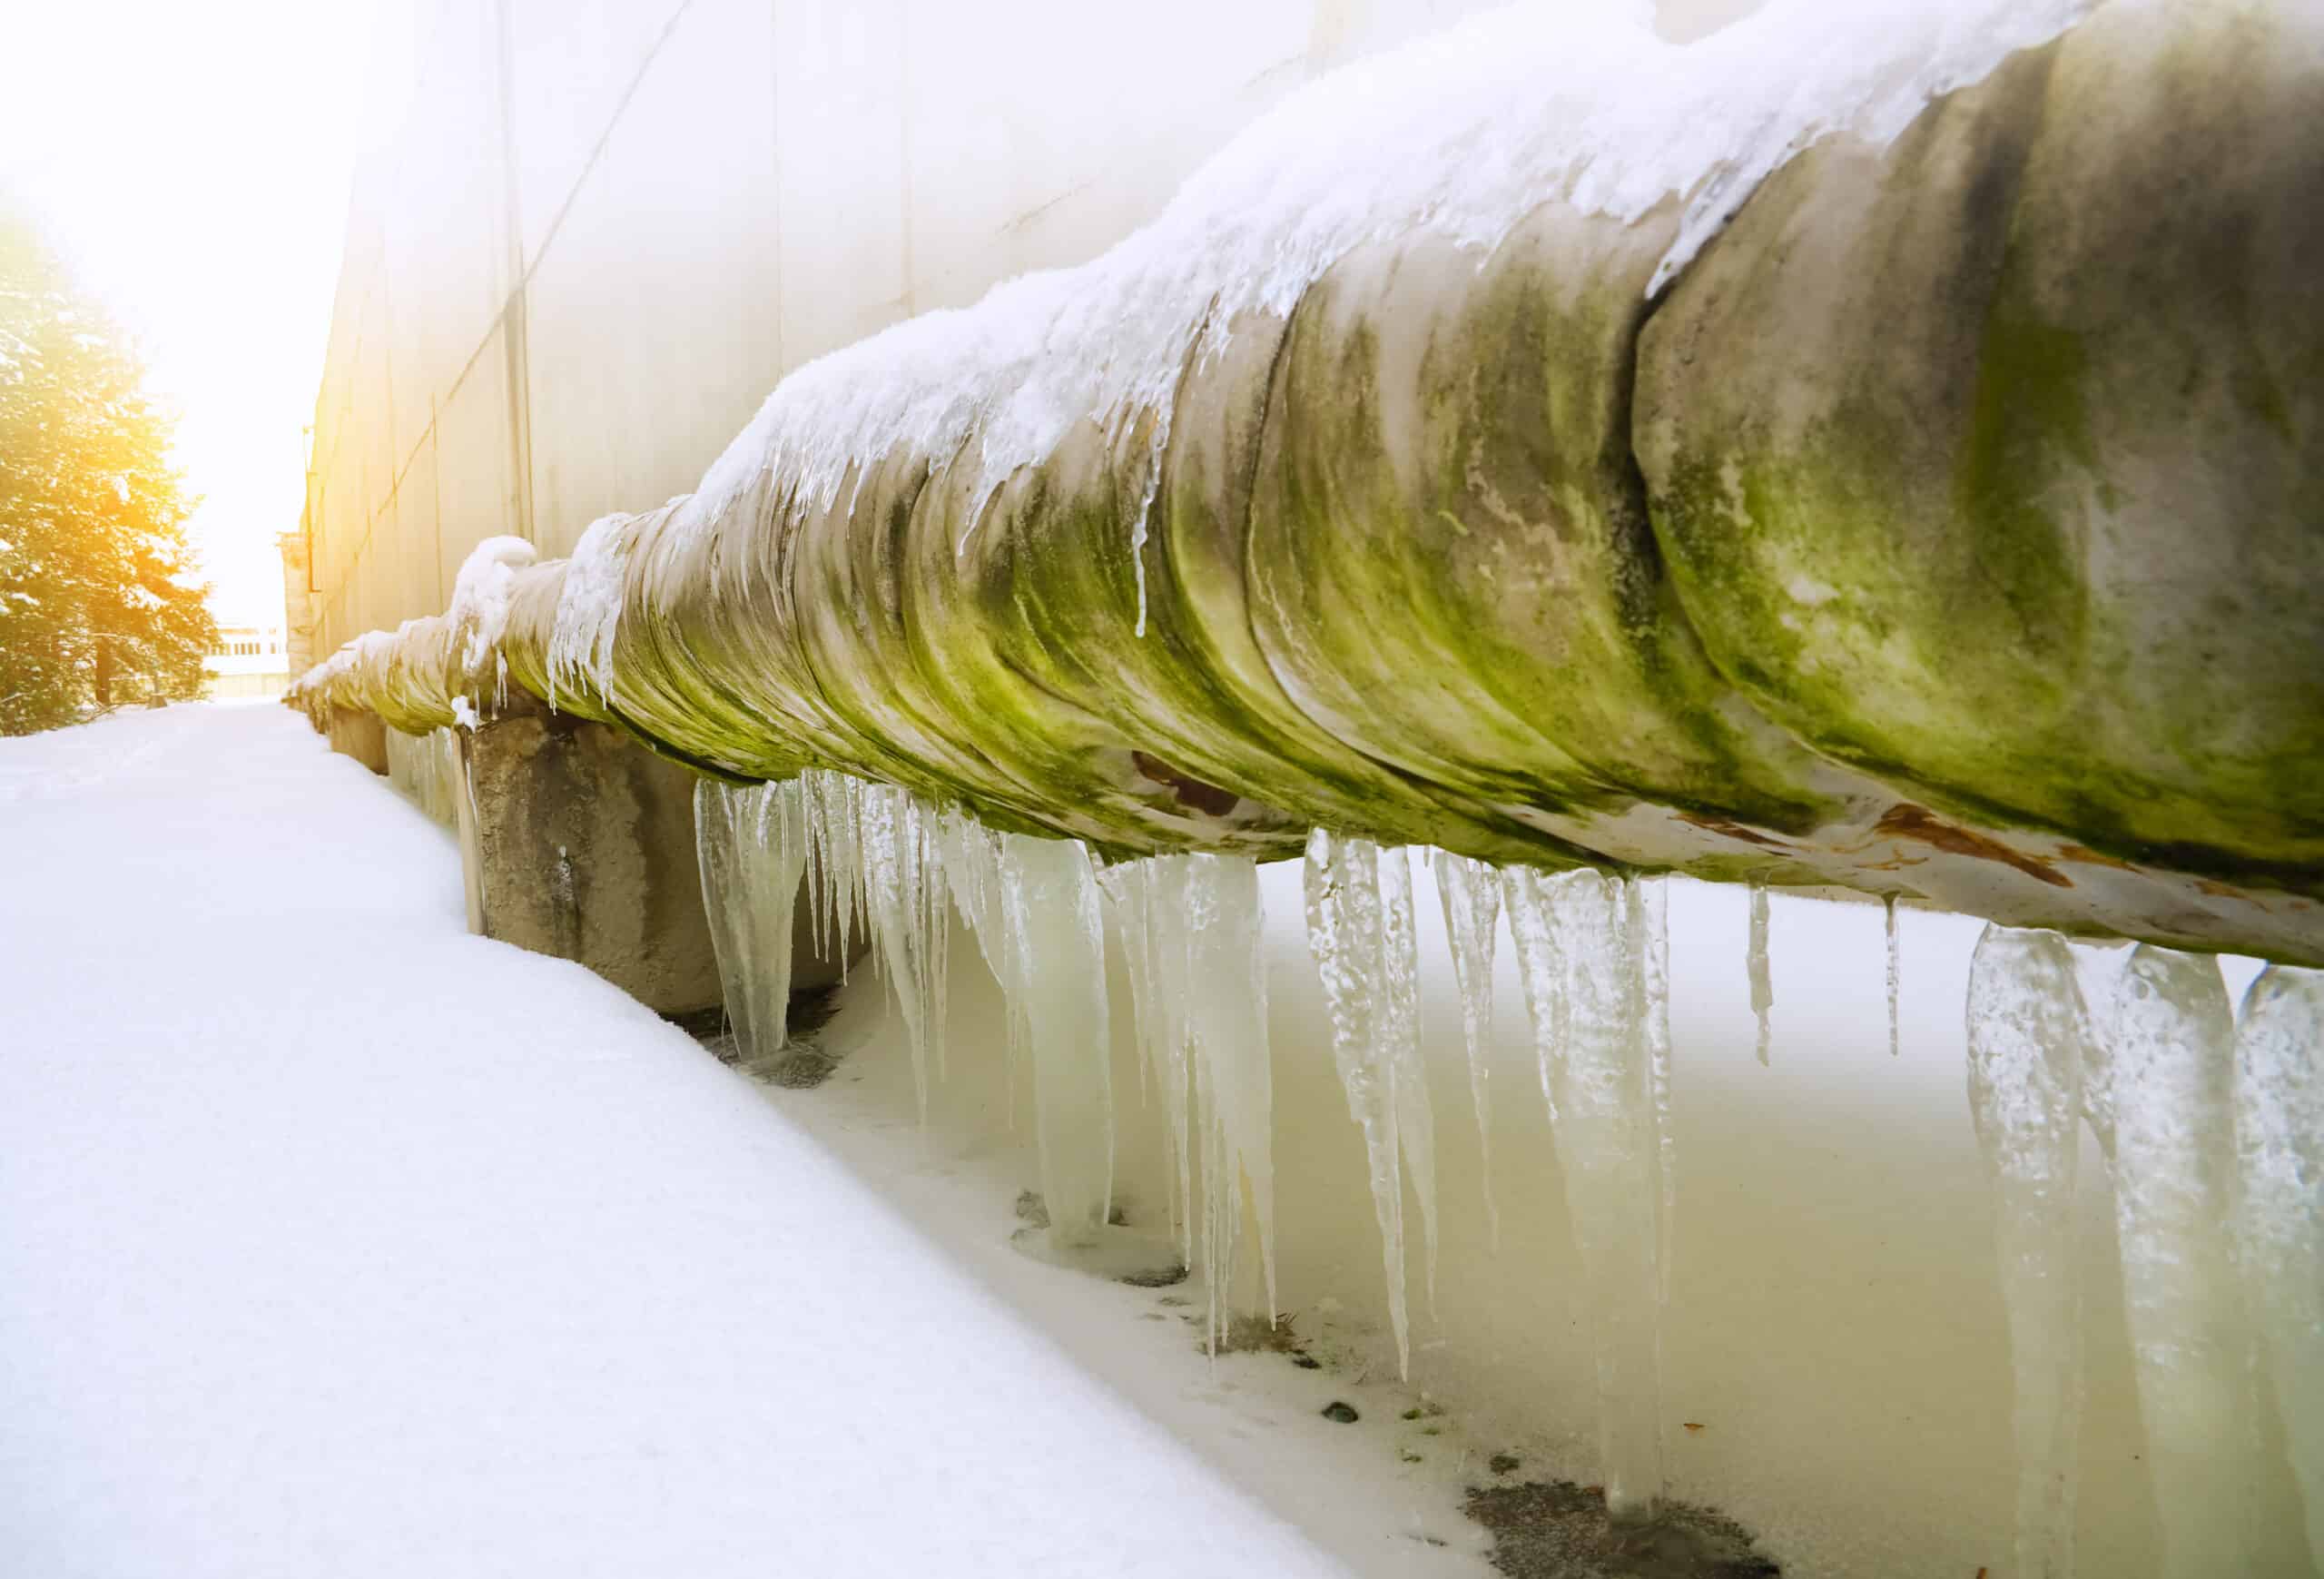
Visible frost on exposed pipes, especially in unheated areas like basements, attics, or crawl spaces, is a clear sign that your pipes may be freezing. Frost forms when the surface temperature of the pipe drops below freezing, causing moisture in the air to condense and freeze. This external frost indicates that the internal temperature of the pipe is also dangerously low and may already be at risk of freezing solid. If you see frost on your pipes, it’s important to take immediate action to warm them up and prevent potential bursting, as the ice inside can block water flow and cause significant damage.

Sign 3: Strange Noises in Pipes

Strange noises like whistling, banging, or clanging coming from your pipes can be a sign of ice buildup and freezing pipes. As water freezes inside the pipes, it expands, increasing pressure and creating unusual sounds. Whistling often results from water struggling to pass through narrow or blocked sections, while banging or clanging can occur as ice causes pipes to shift or bang against supports. These noises indicate that ice may be obstructing or damaging your plumbing. Paying attention to these sounds can help you address potential freezing issues before they lead to more serious problems, like pipe bursts or leaks.

Sign 4: Unusually Cold Walls or Floors

If you notice unusually cold spots on walls or floors, it could indicate that pipes behind these surfaces are freezing. Water lines running through uninsulated or exterior walls, and under floors, can cause these areas to feel colder than the rest of your home. Cold spots suggest that ice may be forming in the pipes, affecting the temperature of nearby surfaces. Addressing these cold areas promptly can help prevent severe freezing and potential damage, ensuring your pipes remain functional and your home stays warm.

Sign 5: Unpleasant Odors from Drains

Unpleasant odors from drains can indicate ice blockage in your pipes. When ice obstructs the flow, wastewater can’t drain properly and may sit stagnant, causing foul smells to seep back through your drains. Blocked pipes can also trap debris and organic matter, which contributes to the unpleasant odors. If you detect unusual smells coming from your drains, it’s a sign that ice may be disrupting your plumbing, and prompt action is needed to prevent further issues and restore proper drainage.
6 Common Signs You Might Have Freezing Pipes

Sign 6: Visible Pipe Bulging

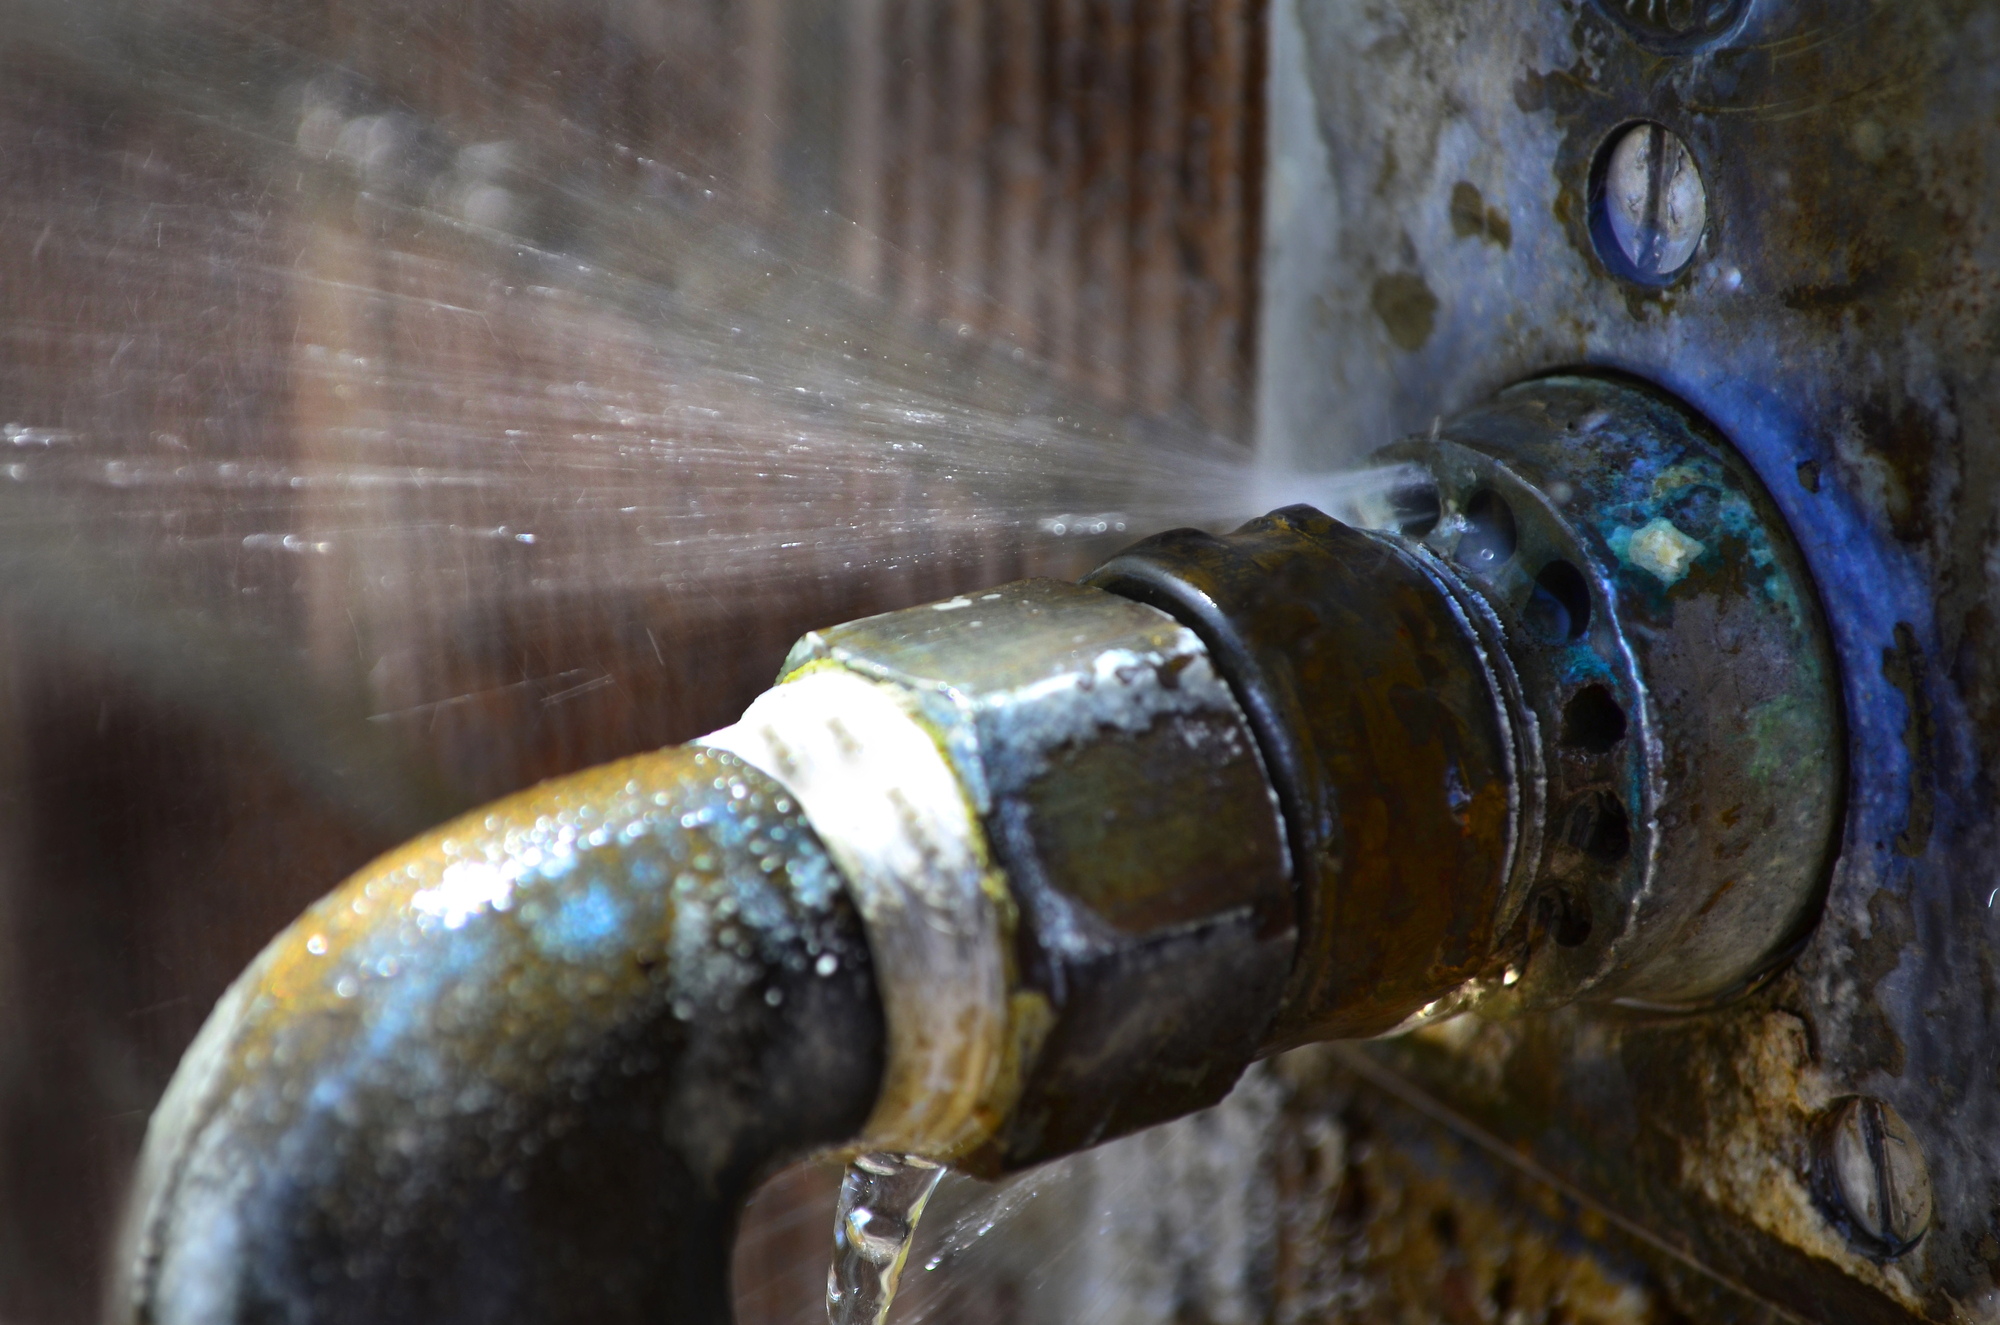
If you see pipes bulging, it’s a strong indicator of ice expansion inside them. As water freezes, it expands, exerting pressure on the pipe walls and causing them to swell. This bulging is a serious warning sign that the pipe is under significant stress and may burst if the ice isn’t addressed. If you notice bulging pipes, take immediate action: turn off the water supply, and carefully warm the affected areas using a hairdryer or space heater. Be sure to avoid using open flames or high heat. 

Preventive Actions

If you notice signs of freezing pipes, you should act quickly. Beyond turning off the water supply and warming the areas, you can insulate exposed pipes with foam sleeves or wrap them with heating tape. Keep your home heated to at least 55 degrees, especially in unheated areas. Open cabinet doors under sinks to allow warmer air to circulate around pipes, and seal any gaps or cracks near pipes to prevent cold air from entering. Make sure to regularly check and maintain your plumbing to minimize freezing risks during cold weather.

Choose S&B Plumbing 

S&B Plumbing specializes in addressing frozen water lines with expert solutions to thaw pipes and prevent future issues. Our team offers comprehensive plumbing services, including leak repairs, pipe insulation, and emergency response for burst pipes. With our expertise, S&B Plumbing ensures your home stays protected from cold weather damage and maintains reliable, efficient plumbing throughout the year. Contact us today to book your appointment.

Filed Under: Plumber

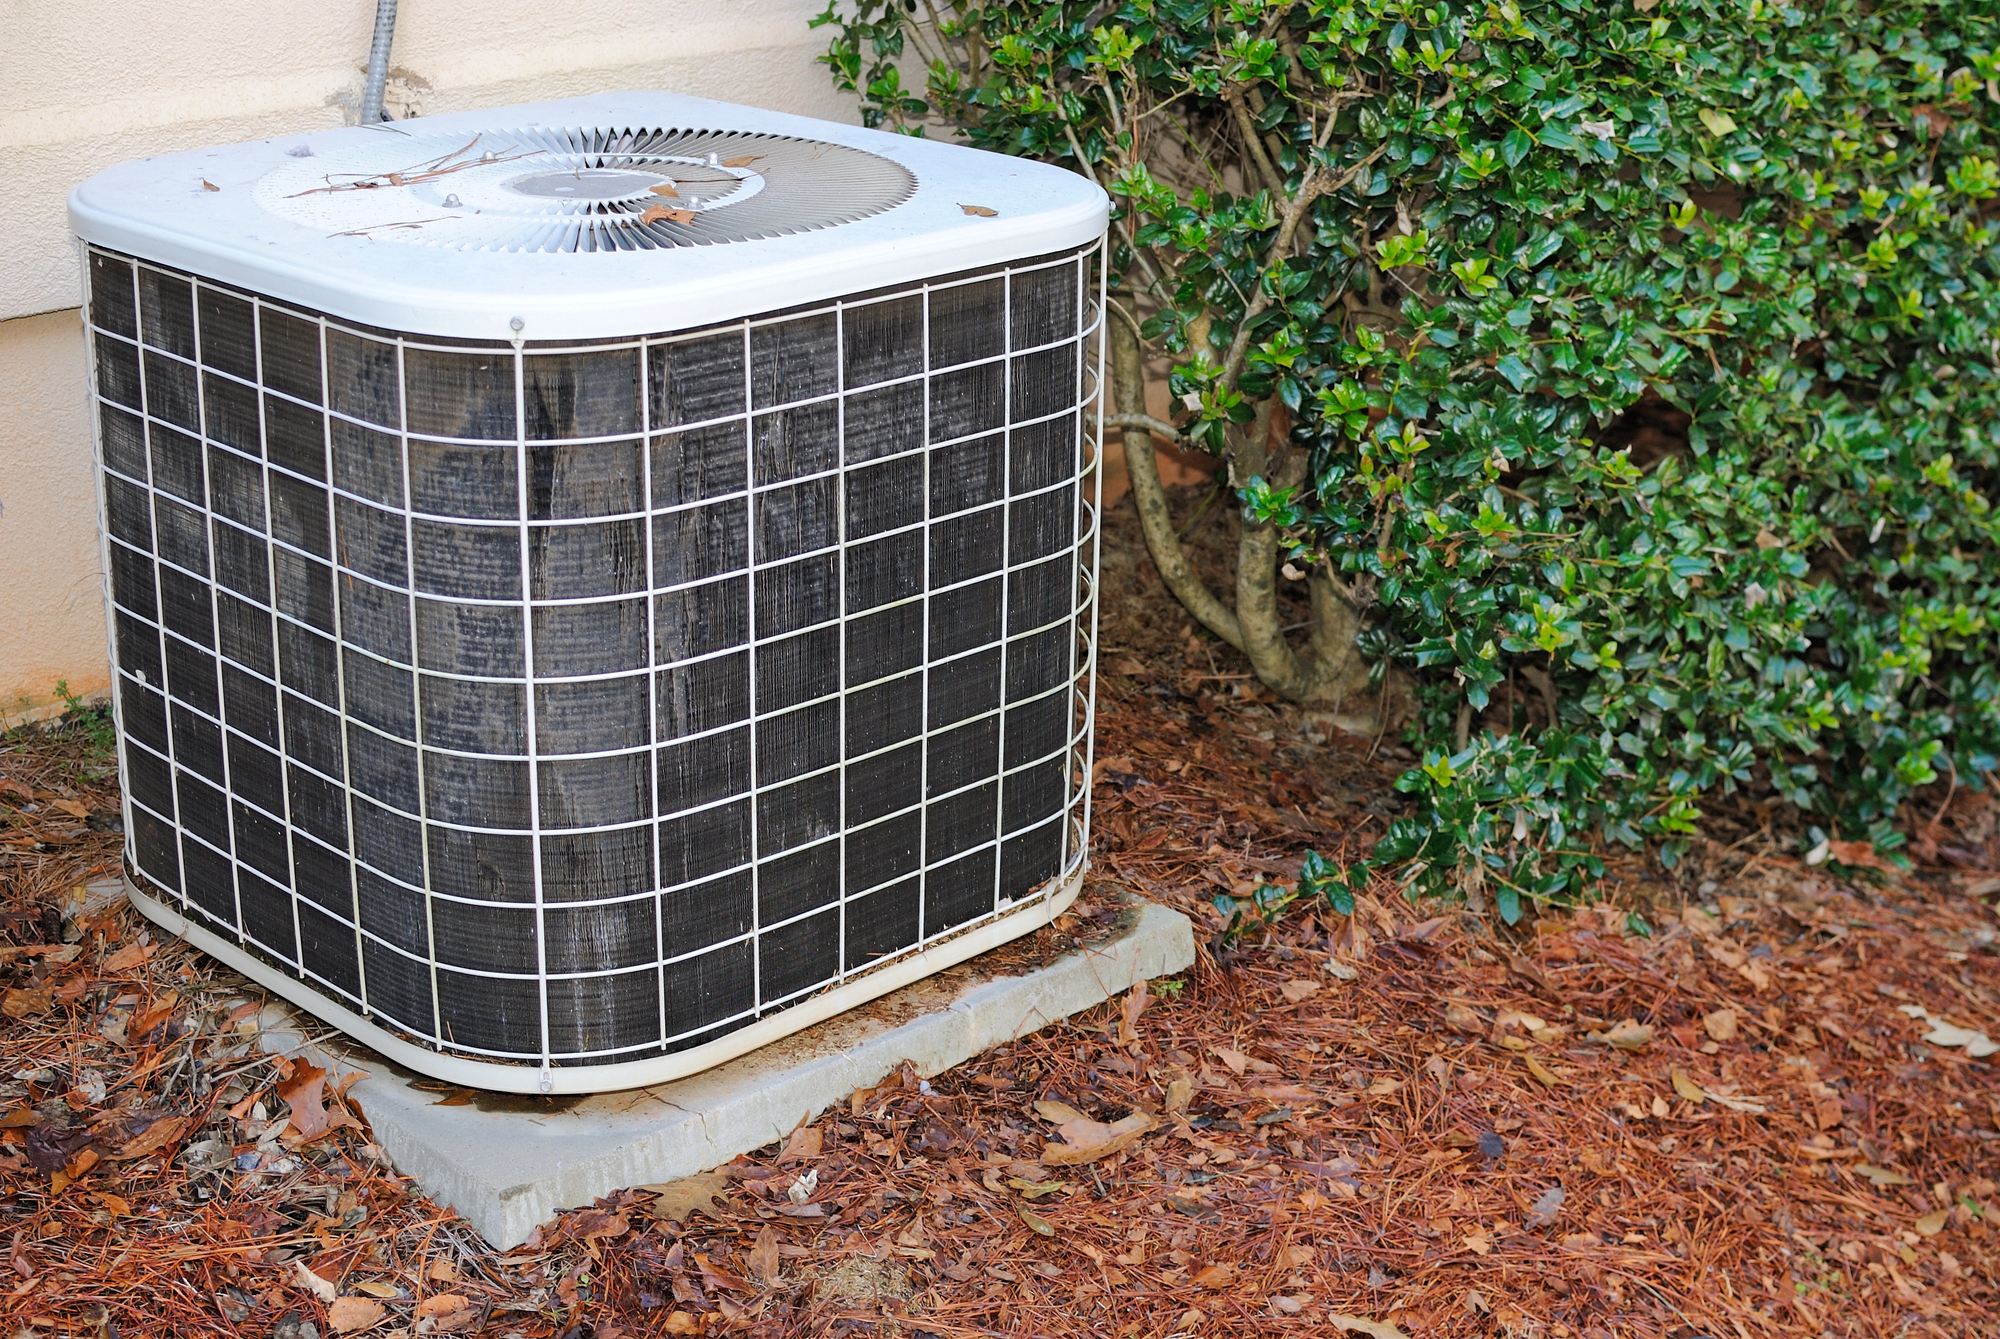
As temperatures drop, it’s time to winterize a swamp cooler to protect it during the colder months. While swamp coolers are great for keeping your home cool in the summer, they can be vulnerable to damage if not properly cared for in the winter. Taking a few simple steps now can save you from costly repairs later and ensure your cooler is ready to go when the heat returns. In this guide, we’ll walk you through the process to keep your swamp cooler in top shape year-round.

How to Winterize a Swamp Coolers

Here are seven of the most important ways to winterize a swamp cooler:

7 Tips to Winterize a Swamp Cooler

1. Turn Off and Disconnect the Power

To safely winterize a swamp cooler, start by turning off the unit and unplugging it from the power source. This step is crucial to avoid any electrical hazards. Next, disconnect any additional power sources and shut off the water supply to the cooler. By ensuring that the cooler is completely powered down and disconnected, you prevent potential accidents and prepare the unit for thorough cleaning and maintenance. This initial step is essential for a safe and effective winterizing process.

2. Drain the Water

Draining all water from your swamp cooler is essential to prevent freezing and damage during winter. Start by emptying the water reservoir and any connected lines to remove excess water. Use a wet/dry vacuum to thoroughly extract any remaining moisture from the system to ensure no water is left behind. This step helps avoid potential water damage, mold growth, and freezing issues, keeping your cooler in optimal condition for the next cooling season.

3. Clean the Unit

Cleaning your swamp cooler’s interior components is crucial for maintaining its efficiency. Begin by thoroughly cleaning the water reservoir to remove any sediment or buildup, and clean the pump to it’s free of debris. Next, remove the cooling pads and either wash them according to the manufacturer’s instructions or replace them if they’re worn out. Proper cleaning prevents mold growth, ensures optimal performance, and extends the life of your cooler. This maintenance step is key to preparing the unit for storage and ensuring it operates efficiently when the cooling system resumes.

4. Protect the Unit

Another simple way to winterize a swamp cooler and protect it during the off-season is to cover it with a weather-resistant tarp or specialized cover. This shields the unit from dust, debris, and harsh weather conditions that can lead to damage. For outdoor units, using a cover designed specifically for swamp coolers offers additional protection against moisture and dirt. Ensuring the unit is properly covered prevents unnecessary wear and tear, keeping it in good condition and ready for use when the warmer months return.

5. Check for Damage

Before storing your swamp cooler, carefully inspect it for signs of wear or damage, such as cracks, rust, or broken components. Check all parts, including the fan, motor, and water lines, and address any necessary repairs or maintenance issues immediately to prevent further deterioration. Fixing these issues now helps ensure the unit operates efficiently when you use it again and avoids potential problems that could arise from neglect. This proactive step helps extend the lifespan of your cooler and ensures it’s in optimal condition for the next cooling season.

7 Tips to Winterize a Swamp Cooler

6. Store Properly

For optimal storage, place your swamp cooler in a dry, sheltered location to protect it from moisture and extreme temperatures. Before covering or storing the unit, make sure it is completely dry to prevent mold and rust. If storing indoors, choose a location away from potential water leaks or damp areas. Proper storage helps maintain the cooler’s condition and ensures it will function efficiently when you need it again. 

7. Prepare for Next Season

An important task to protect your swamp cooler is to make a note of any maintenance tasks that need to be addressed next spring, such as replacing filters or checking for worn parts. Ensure all components are in good working order before the cooling season starts to avoid any delays or issues. By keeping track of these tasks and performing necessary checks ahead of time, you’ll ensure a smooth transition into the next cooling season. 

Choose S&B Plumbing for Plumbing Needs

Swamp coolers are just one aspect of a home’s structural foundations. S&B Plumbing offers comprehensive plumbing services from fixing leaky faucets to handling complex plumbing emergencies. Our team of skilled professionals is equipped to tackle any plumbing issue, providing timely, high-quality service. Contact us today if you need help with your water heater or general plumbing maintenance.

Filed Under: Plumber

Is your plumbing system showing its age? Old pipes can lead to a host of problems that disrupt your daily life and compromise your home’s safety. From frequent leaks to discolored water, these warning signs should not be ignored. In this blog, we’ll explore the key indicators that it’s time to replace your old pipes, helping you make informed decisions for a healthier, more efficient home. Let’s dive in!

How to Know it’s Time to Replace Your Old Pipes

1. Frequent Leaks

7 Signs it’s Time to Replace Your Old Pipes

Frequent leaks are a clear sign that it’s time to replace your old pipes and they are nearing the end of their life. While occasional leaks may be fixed with minor repairs, recurring issues often indicate that the pipes are deteriorating from within. Over time, corrosion, rust, or mineral buildup can weaken the pipe walls, leading to more frequent leaks. Relying on patchwork repairs can be a temporary fix, but it won’t solve the underlying problem. If leaks are happening more often, it’s a strong indication that replacing the old pipes may be necessary to avoid more serious water damage down the road.

2. Discolored Water

Discolored water, especially when it appears brown or rusty, is often a sign of corrosion inside your pipes. Over time, the metal in older pipes can corrode, causing rust to flake off and mix with your water supply. This not only affects the water’s appearance but can also lead to unpleasant tastes and potential health concerns. Rusty water is a clear indicator that you should replace your old pipes due to deterioration, and it’s usually a sign that they are approaching the end of their useful life. Replacing corroded pipes is essential to ensure clean, safe water in your home.

3. Low Water Pressure

Low water pressure is often caused by old pipes developing clogs, leaks, or mineral buildup inside them. As pipes age, minerals like calcium and lime can accumulate, reducing the flow of water and leading to poor pressure in your faucets and showers. Small leaks or pinholes in aging pipes can also lower water pressure, and if left unresolved, these issues can worsen over time, leading to more significant damage or even pipe bursts. You should replace your old pipes when they are frequently clogged to restore proper water flow and prevent future complications.

4. Visible Corrosion or Rust

Visible corrosion or rust on your pipes is another clear warning sign that they’re deteriorating and you should replace your old pipes.  You may notice green spots, flaking, or discolored patches on the surface of metal pipes. These are early indicators of corrosion, which happens when pipes are exposed to moisture and oxygen over time. Rust weakens the structural integrity of the pipes, making them more prone to leaks, cracks, and even bursts. As corrosion progresses, it can lead to further damage, affecting water quality and increasing the likelihood of costly repairs. 

5. Unpleasant Odors

Unpleasant odors coming from your plumbing system can indicate serious problems with aging pipes. Old pipes may develop cracks or leaks over time that allow sewer gasses to escape into your home, leading to a foul smell. Deteriorating pipes can also cause water contamination, which might produce a metallic or rotten odor in your tap water. These odors are not just unpleasant—they can signal potential health risks. Contaminated water can expose you to harmful bacteria, while sewer gas leaks can affect air quality. 

7 Signs it’s Time to Replace Your Old Pipes

6. Noisy Pipes

Noisy pipes, such as those that bang, rattle, or make other unusual sounds, can be a sign of underlying issues with your plumbing. These sounds often indicate water pressure problems or loose pipe fittings, which are common in older systems. Banging noises, for example, may result from water hammer, where the flow is suddenly stopped, causing pipes to shake. Rattling sounds can point to unsecured pipes or wear-and-tear. While occasional noises may not seem serious, they can worsen over time, leading to leaks or further pipe damage. Replacing old pipes can resolve these issues and restore your system’s quiet efficiency.

7. Water Stains on Walls or Ceilings

Water stains on walls or ceilings are often a sign of hidden pipe leaks. These leaks can occur in old or deteriorating pipes, allowing water to seep into your home’s structure. Over time, the moisture can cause visible discoloration and damage to drywall or ceilings. If left unresolved, these stains can lead to mold growth, which poses health risks, and can also weaken the structural integrity of your home. Addressing water stains promptly by inspecting and replacing old pipes helps prevent costly repairs and ensures a safe, dry living environment.

Choose S&B Plumbing to Address Plumbing Issues

At S&B Plumbing, we specialize in replacing old pipes to ensure your plumbing system is safe and efficient. With expertise in addressing issues like leaks, low water pressure, and outdated materials, we provide comprehensive plumbing solutions. Our wide range of services make us your go-to for all your plumbing needs. Trust us to restore your home’s plumbing to optimal condition! Contact us today to get a consultation.

Filed Under: Plumber

  • « Previous Page
  • 1
  • …
  • 16
  • 17
  • 18
  • 19
  • 20
  • …
  • 51
  • Next Page »

Address & Hours

Billing Address

691 N. 2075 W. Suite A

Marriott-Slaterville, UT 84404

Utah - (801) 528-4999

sbputah@gmail.com

Plumbing Services:

24/7


Office Hours:

M-TH 8am-5pm

Fri 8am-4pm

Directions

Follow Us

Contact Us

This field is for validation purposes and should be left unchanged.

2026 | S & B Plumbing | All Rights Reserved | Privacy Policy | Terms | XML Sitemap | Sitemap | Site by PDM